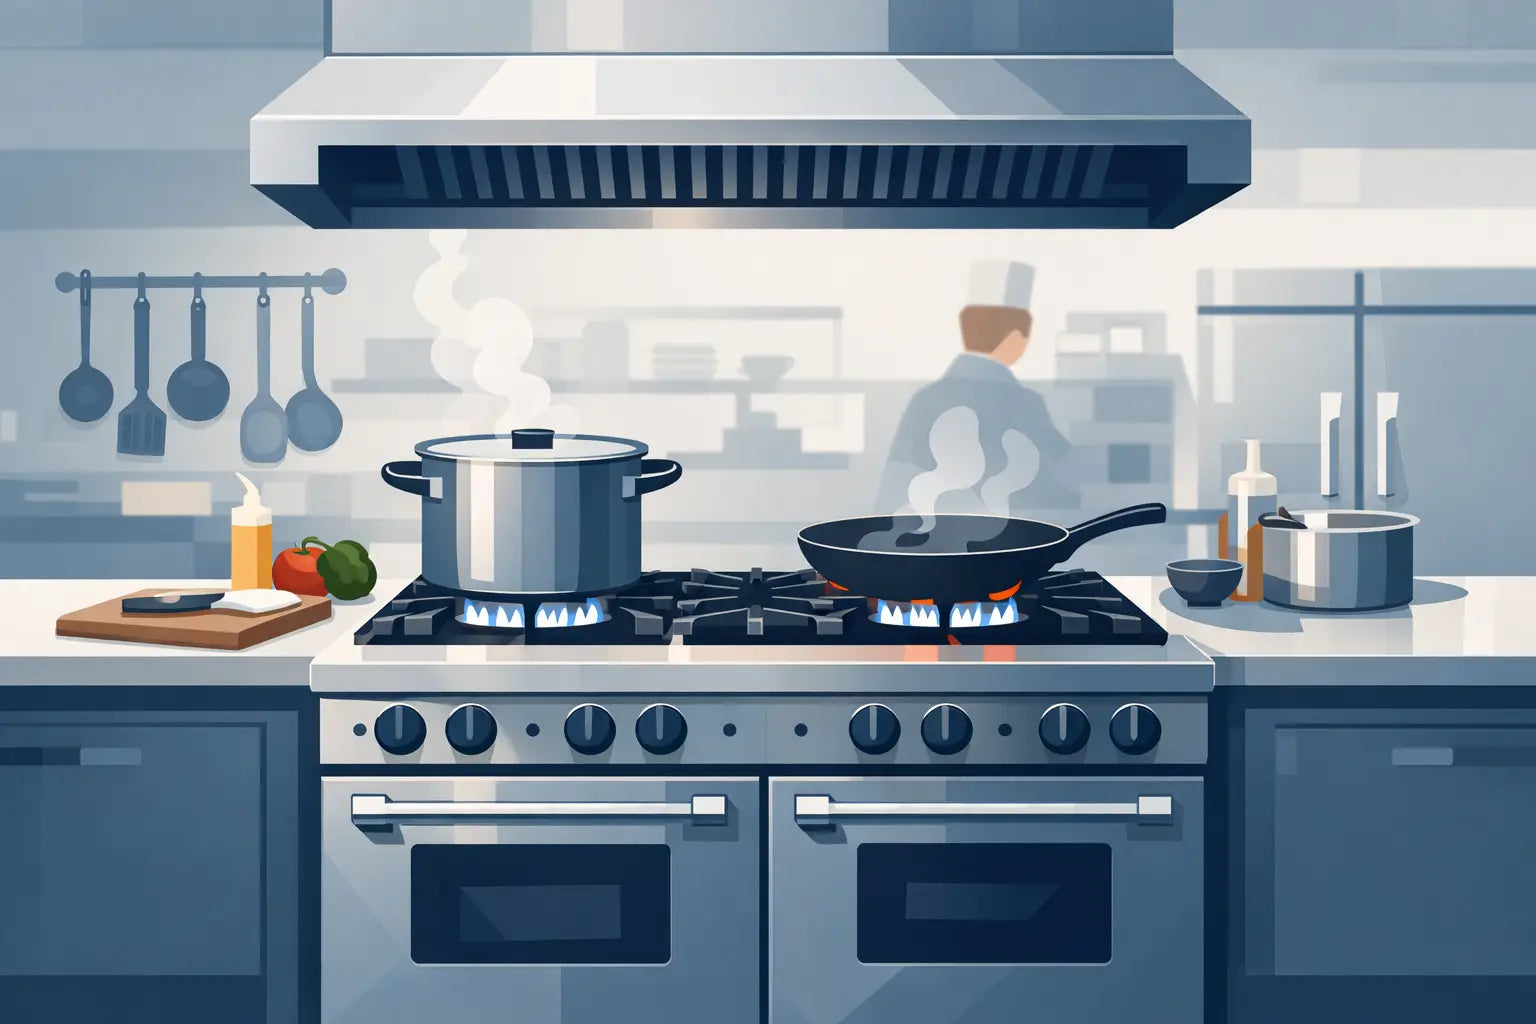
How to Maintain a Charbroiler for Peak Performance
A charbroiler earns its place on the line by delivering high heat, strong grill marks, and the unmistakable flavor guests expect. But that performance depends on disciplined care. Knowing how to maintain charbroiler equipment protects cooking consistency, reduces flare-ups, supports food safety, and helps a high-value piece of equipment stand up to demanding service.
For a restaurant, hotel kitchen, catering operation, or serious outdoor cooking setup, maintenance is not a once-a-month chore. It is a daily operating standard. The exact routine varies by gas or electric model, grate material, volume of use, and manufacturer instructions, but the core objective stays the same: keep the cooking surface, grease path, heat source, and controls clean, clear, and working as intended.
Start With Safe Shutdown and Cool-Down
Never clean a charbroiler aggressively while burners, grates, or radiant components are still dangerously hot. At the end of service, turn the controls off and allow the unit to cool to a safe working temperature. For gas units, follow the manufacturer’s shutdown procedure and close the gas supply when required by your operation’s policy.
“Cool” does not mean cold. A slightly warm grate releases food residue more easily than a cold one, but maintenance staff should be able to handle the area safely with appropriate heat-resistant gloves. Keep water away from active burners, pilot assemblies, electrical controls, and hot ceramic components. Sudden temperature changes can damage cast iron, warp metal parts, or crack radiants.
Before cleaning, remove nearby food, utensils, and combustible materials. Place a designated container beneath removable grease components if needed. This small setup step prevents grease and debris from reaching the floor, where they become a slip and fire hazard.
How to Maintain a Charbroiler Every Day
A daily cleaning routine prevents carbon buildup from becoming a performance problem. Heavy residue blocks heat, causes uneven cooking, produces off-flavors, and can turn routine grilling into a flare-up risk.
Clean the grates after each service
Brush the cooking grates with a grill brush suited to their material. Use a stiff-bristle brush or scraper for cast iron or stainless steel, but avoid tools that can leave loose wire bristles behind. If a brush sheds, replace it. A stray bristle is a serious food safety risk.
For stubborn residue, remove the grates once they are safe to handle and wash them with warm water, mild detergent, and a nonabrasive pad. Rinse and dry them thoroughly. Cast-iron grates should be lightly seasoned with a food-safe high-heat oil after drying to help resist rust and promote easier release during the next shift. Stainless grates generally do not need seasoning, though a light wipe of oil before cooking can still reduce sticking.
Do not rely on the heat of the charbroiler alone to burn residue away. Burn-off can help loosen debris, but it does not remove grease from the grate, grease trough, or areas below the cooking surface.
Empty the grease tray or pan
Grease management is one of the most important charbroiler maintenance tasks. Empty the grease tray after service, and more often during high-volume cooking of burgers, sausages, chicken thighs, or other fatty products. Allow grease to cool enough for safe handling, then dispose of it according to local requirements.
Wipe the tray and grease channel with a degreasing solution approved for commercial kitchen use. A clean, properly seated tray reduces the chance of overflow, smoke, and grease fires. Never line a grease tray with foil unless the equipment manufacturer specifically permits it. Foil can interfere with airflow, drainage, or heat distribution.
Clear food debris below the grates
Lift out the grates and remove loose food particles from the firebox or cooking chamber. Use a scraper and shop-approved brush or vacuum designed for cooled ash and debris. Do not force debris into burner openings or leave it packed around radiant plates.
This is especially important after cooking marinades, sugary glazes, or heavily seasoned proteins. Those residues carbonize quickly and can create smoke long before the food reaches the desired finish.
Deep-Clean the Heat System Weekly
Daily cleaning handles the visible mess. Weekly maintenance protects the components that create and distribute heat. Schedule the work during a slower period, when the unit can be fully shut down and cooled.
Remove grates, radiant plates, lava rocks, briquettes, or heat deflectors according to the manufacturer’s directions. The correct approach depends on the charbroiler design. Radiant models use metal or ceramic components to spread heat, while lava rock and briquette units depend on media that absorbs and radiates heat. Each system needs airflow to perform correctly.
Scrape carbon and grease from removable heat components without using excessive force. Inspect ceramic radiants for cracks and metal radiants for warping, corrosion, or blocked openings. Replace damaged parts rather than trying to operate around them. A cracked radiant or obstructed deflector can create cold zones, hot spots, and uneven browning.
For lava rock or briquette charbroilers, remove loose debris regularly and replace media when it becomes saturated with grease, breaks down, or produces persistent smoke and flare-ups after cleaning. Trying to extend the life of heavily contaminated media may save a small amount in the short term, but it costs control, cleanliness, and product quality.
Inspect Burners, Ignition, and Gas Connections
A clean cooking surface cannot compensate for an unreliable heat source. With the unit off and cool, inspect burners for blocked ports, rust, cracks, and uneven flame patterns. Brush burner surfaces gently and clear openings only with tools approved for that model. Enlarging burner ports with a drill bit, nail, or improvised object can alter combustion and create a safety issue.
When the charbroiler is operating, look for a consistent blue flame. Small yellow tips may occur depending on the equipment and environment, but large yellow flames, popping, delayed ignition, or a burner that lights unevenly deserve attention. These symptoms may indicate grease buildup, blocked burner ports, incorrect air adjustment, or a gas supply issue.
If you smell gas, hear hissing, or suspect a leak, shut off the appliance and gas supply if it is safe to do so. Do not relight the unit. Have a qualified commercial equipment technician inspect the system. Gas connections, regulators, valves, and ignition components are not areas for guesswork.
Electric charbroilers need the same attention to heat consistency, but the inspection focus shifts to elements, wiring, thermostatic controls, and power connections. Any damaged cord, tripped breaker, exposed wiring, or inconsistent element should be addressed by a qualified technician.
Check Heat Recovery and Cooking Consistency
Maintenance should be measured by results on the grate, not just by how clean the equipment looks. Once the charbroiler has been reassembled, preheat it fully and check whether heat is even across the cooking surface. A practical test is to place small pieces of bread or another low-cost test product across several zones and compare browning after the same short interval.
Slow recovery after loading, one side that runs cooler, or excessive flare-ups can point to deeper issues. Start with the basics: clean grates, clear grease paths, properly positioned radiants, and unobstructed burners. If the problem persists, schedule service before it affects ticket times and guest experience.
Avoid compensating for a weak zone by turning the entire unit higher. That often creates scorching in one area while the rest of the grate remains underpowered. Precise equipment should deliver predictable heat, allowing cooks to manage proteins by zone rather than by constant correction.
Protect the Exterior and Control Components
Wipe the exterior, control panel, handles, and surrounding backsplash daily with a soft cloth and compatible cleaner. Stainless steel should be wiped in the direction of its grain to preserve its finish. Avoid chloride-heavy cleaners, harsh abrasives, and steel wool, which can damage surfaces and encourage corrosion.
Keep control knobs clean enough to read clearly and turn smoothly. Grease buildup around knobs and valves is more than cosmetic. It makes settings harder to verify during a fast service and can conceal developing equipment issues.
If the charbroiler is part of an outdoor kitchen, use a fitted cover only after the unit has cooled completely. Protecting the equipment from rain, dust, and seasonal debris extends component life, but trapping moisture under a cover can accelerate corrosion. In humid conditions, periodic ventilation matters.
Build Maintenance Into the Kitchen Routine
The strongest maintenance program is simple enough to happen consistently. Assign daily closing duties to a specific role, then use a weekly inspection checklist for grates, grease management, radiants, burners, ignition, and controls. Record recurring issues such as slow ignition, hot spots, or unusual smoke. Patterns help managers identify when cleaning is no longer enough and professional service is needed.
A charbroiler built for performance should not be treated as a disposable heat source. Give it the same disciplined care you expect from the team working the line, and it will keep producing the color, flavor, speed, and consistency that bring guests back.