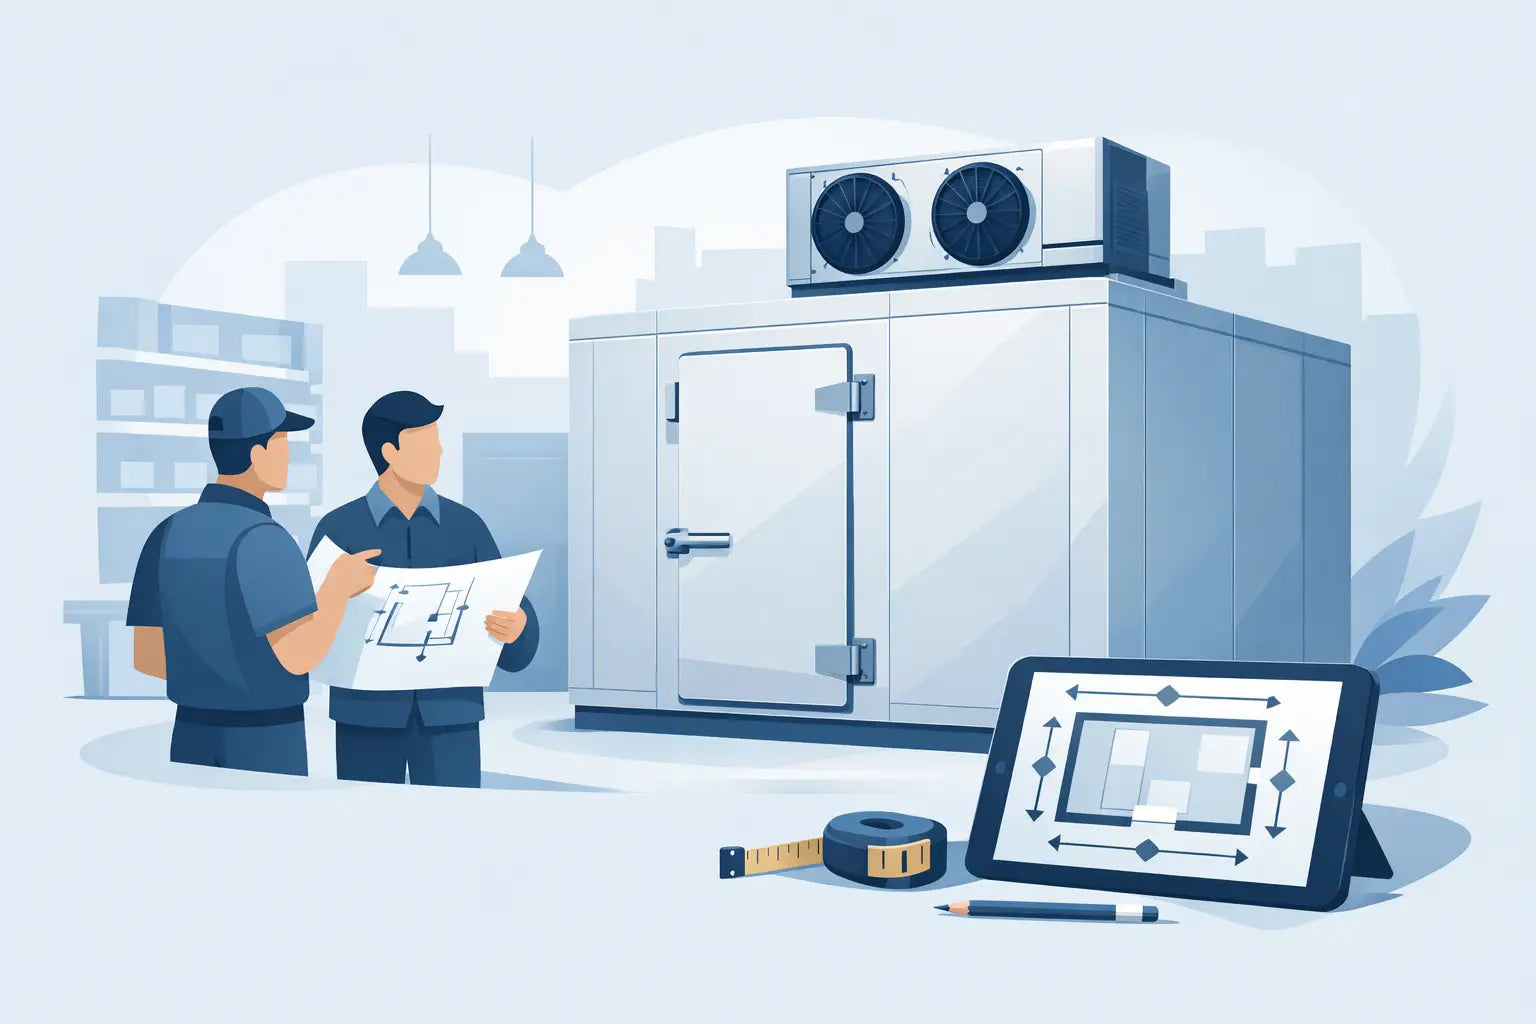
How to Size a Walk-In Cooler for Service
A walk-in cooler that is too small does not simply feel crowded. It slows prep, hides product behind product, forces hot deliveries into tight aisles, and makes proper rotation harder at the exact moments service is moving fastest. The question of how to size walk-in cooler capacity is really a question of protecting food quality, labor rhythm, and the calm control of a well-run kitchen.
The right answer is rarely a single square-foot figure. It depends on what you sell, how often you receive product, how much prep happens in-house, and whether the cooler must support a growing operation rather than only today’s volume. Start with inventory and workflow, then build the box around both.
How to size a walk-in cooler from your inventory
Begin by measuring the product you need to hold at peak inventory, not the amount you would like to keep on hand on an average Tuesday. Review invoices, receiving logs, prep sheets, and seasonal sales patterns. A pizzeria holding dough, cheese, sauce, produce, and beverage cases has a different refrigeration profile than a steakhouse receiving primal cuts or a bakery storing sheet pans of finished pastry.
Think in physical units. Count cases, cambros, speed racks, milk crates, kegs, produce boxes, and hotel pans. Record each item’s width, depth, and height, including the practical space needed to access it. A case may fit on a shelf by dimension but become inefficient if staff must move three other cases to reach it.
Daily or near-daily deliveries can reduce the storage footprint required. Operators receiving once or twice a week need more room for reserve stock. Caterers and banquet kitchens often need extra capacity ahead of events, while seasonal concepts may need their cooler to absorb short, intense periods of demand. Size for the busiest credible week, then leave room for the operating realities around it.
A useful planning target is to reserve 20% to 30% of the cooler’s usable capacity as open space. That margin supports air movement, cleaning, receiving, stock rotation, and menu changes. A cooler filled wall to wall may appear efficient on paper, but it is difficult to manage and can compromise temperature consistency.
Separate total floor area from usable storage
Walk-in cooler dimensions are often discussed in square feet, but square footage alone can mislead. A 10-foot by 10-foot box has 100 square feet of floor area, yet its usable storage depends on door location, shelving depth, aisle clearance, evaporator placement, and the mix of shelving and rolling equipment inside.
For most operations, plan a clear aisle of at least 36 inches. If staff will move speed racks, carts, or heavy product through the box, a wider aisle may be the better choice. That circulation space is not wasted space. It is what allows two cooks to work without turning the cooler into a bottleneck.
Wall shelving commonly runs 18 to 24 inches deep. Double-sided center shelving can add capacity in larger boxes, but only when there is enough room to keep aisles clear and maintain access from both sides. If your team relies on sheet pan racks, measure the rack itself, its turning radius, and the space needed to roll it through the door without catching handles or door hardware.
Ceiling height matters as well. Standard walk-ins commonly use 7-foot-6-inch or 8-foot interior heights, though taller configurations are available. More height can create valuable vertical storage, especially for lighter packaged goods, but it does not solve a poor floor plan. Frequently used ingredients should remain between waist and shoulder height, where cooks can retrieve them safely and quickly.
Let workflow shape the footprint
The best cooler location and layout follow the path of food: receiving, storage, prep, line replenishment, and service. If deliveries arrive at the rear of the building, a walk-in near receiving reduces the time product spends in warm corridors. If prep is the primary draw, place the door where prep cooks can access ingredients without crossing a busy cook line.
Door placement deserves more attention than it gets. A centered door may look balanced, while an offset door can create a much better interior layout. Consider where shelving starts, where carts turn, and which products need to be reached first. A poorly placed door can cost more usable space than adding a few feet to the box would recover.
Also account for what belongs outside the cooler. Prep tables, reach-ins, and undercounter refrigeration should hold the ingredients needed for an active shift, while the walk-in acts as the cooler reserve. When those roles are clear, cooks make fewer long trips and leave the door open less often. That protects both pace and refrigeration performance.
Calculate refrigeration load, not just box size
A larger walk-in requires more than more panels. Its refrigeration system must remove heat from the room, the product entering it, lighting, fan motors, door openings, and nearby ambient conditions. A correctly sized condensing unit and evaporator are essential to maintaining safe temperatures during real service, not merely holding temperature overnight with a closed door.
Several factors increase the load:
- Frequent door openings during prep or peak service
- Warm product entering after receiving or cooking
- High ambient heat in a kitchen, warehouse, or outdoor-adjacent area
- Glass doors, multiple doors, or unusually long door-open periods
- Dense product storage that restricts airflow around the evaporator
Likewise, do not assume a freezer system can simply be selected for a cooler, or vice versa. Refrigerated and frozen storage have distinct operating requirements. In a combo walk-in cooler/freezer, each side needs deliberate planning for insulation, doors, refrigeration equipment, and workflow.
Choose a modular size that can actually be installed
Panelized walk-ins offer useful flexibility because they are built from modular insulated panels. Still, the final dimensions must work with the building, not only the kitchen drawing. Measure ceiling clearance, doorways, corridors, freight access, floor conditions, and the route from delivery truck to installation point.
Confirm whether the cooler will sit on an existing slab or require an insulated floor. A standard cooler installed on a suitable concrete slab may not need a floor panel, while installations over wood framing, in elevated spaces, or in other non-slab conditions generally require a finished insulated floor. Freezers typically require insulated flooring and may need additional protection against frost heave, depending on the installation.
Remote refrigeration systems can move heat and noise away from the kitchen, but they require coordinated piping runs and professional installation. Self-contained refrigeration may simplify certain projects, yet it releases heat into the surrounding area and needs enough clearance to breathe. The best configuration depends on the space, ventilation, climate, service access, and the operating demands of the kitchen.
Before ordering, verify electrical requirements, drain needs, local health department expectations, and fire or building-code considerations. A walk-in is a major piece of infrastructure. Precise field measurements and coordination with qualified installers are less glamorous than selecting finishes, but they prevent expensive changes after the panels arrive.
Plan for growth without building empty space
Buying the largest possible box is not always the most disciplined decision. More volume means greater initial cost, more conditioned space, and potentially more energy use. Yet sizing only for present inventory can become expensive when a new menu, a stronger catering program, or a second service period arrives.
A practical approach is to identify the next 12 to 24 months of realistic growth. Will you add brunch? Increase production for wholesale accounts? Expand beverage sales? Bring butchery or dough production in-house? If the answer is yes, modest additional capacity can be a well-placed investment. If growth is uncertain, prioritize an efficient layout, accessible shelving, and refrigeration capacity matched to actual use rather than an oversized empty box.
A well-sized walk-in cooler should feel composed at the start of a delivery and workable at the height of prep. Give your product room to breathe, give your team room to move, and let the cooler support the steady, precise rhythm behind every plate you send out.