How to Organize a Prep Line for Faster Service
The difference between a composed service and a crowded rail is often decided before the first ticket prints. Knowing how to organize a prep line means arranging ingredients, refrigeration, tools, and human movement around the exact work your cooks repeat all night. When every reach has a purpose, the line feels quieter, faster, and far more controlled.
A well-built prep line is not simply a counter filled with pans. It is a working sequence: cold ingredients held at the right temperature, high-use components within easy reach, clean handoffs between stations, and enough capacity to survive the push without turning mise en place into clutter.
Start With the Menu, Not the Equipment
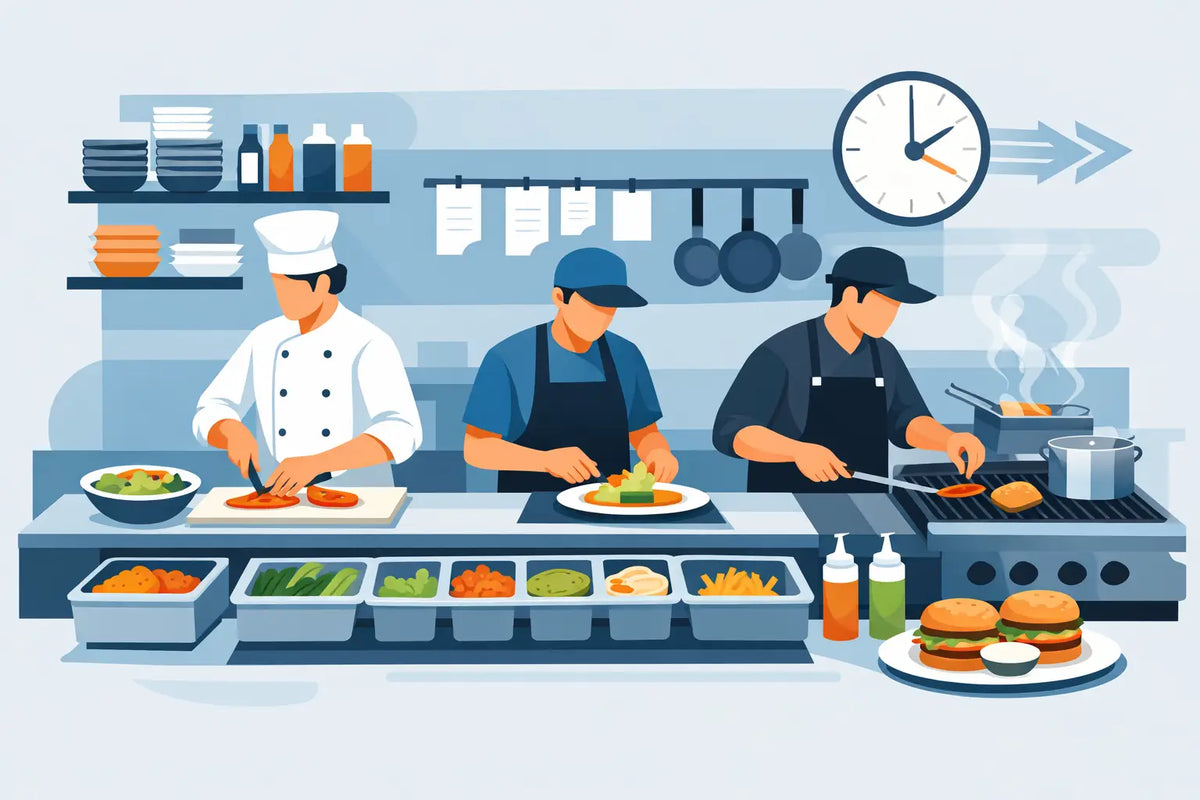
Begin by mapping what happens to each item from ticket to pass. A sandwich station, for example, may move from bread to protein, cheese, vegetables, sauces, wrap, and finish. A salad station might require a different rhythm: greens, grains, proteins, toppings, dressings, then packaging. The physical order of the pans should follow that production order whenever possible.
Look at sales data rather than designing for every menu item equally. Your top-selling items and their shared ingredients deserve the most direct access. A garnish used twice a shift can live farther from the cook. The lettuce, sliced tomato, shredded cheese, and sauces touched on nearly every order belong in the line's prime real estate.
This is also where operators uncover whether one prep line is trying to do too much. If a single refrigerated rail serves salads at lunch, tacos at dinner, and desserts after service, the setup may be flexible but inefficient. Separating the high-volume workflows, even with a modest auxiliary prep table, can reduce congestion and protect consistency.
How to Organize a Prep Line Around Movement
Think in zones rather than in isolated containers. Every station needs an ingredient zone, a working zone, a finishing zone, and a place for waste or used utensils. The goal is to prevent cooks from reaching across food, turning around repeatedly, or colliding with another person's path.
For a one-person station, arrange the line in the order the cook naturally builds the item. A right-handed cook often works most comfortably with primary tools and the most-used pans to the right or directly in front, though the best arrangement depends on the menu and the cook's technique. For two-person stations, establish a clear divide so each cook has a defined range and neither is constantly borrowing space.
Keep the movement from refrigeration to assembly to cooking or finishing short and obvious. A cold sandwich prep table beside the slicer and toaster may make sense. Placing it across an aisle from the heat source adds steps to every order and creates traffic at the worst possible moment.
The strongest layouts protect the pass as well. Finished food should leave the prep line cleanly, without crossing through raw-product handling, replenishment activity, or dish return. That separation supports both speed and food safety.
Build a Reach Map Before You Set Pans
Stand at the workstation and identify the items a cook touches on nearly every ticket. Those belong within the primary reach zone, generally the area accessible without stepping or stretching. Less frequent ingredients can occupy the outer ends of the rail, an adjacent refrigerated drawer, or labeled backup storage below.
Place heavy or awkward items where they can be lifted safely. Large hotel pans, sauce containers, and backup proteins should not require a cook to reach over an open rail. If the menu depends on several squeeze bottles, create a dedicated, easy-to-clean bottle area rather than scattering them among food pans.
Small details matter here. Tongs need a consistent resting point. Portion scoops need a clean home. Cutting boards should fit the workspace without covering too many pans or forcing the operator to work at an uncomfortable angle. A prep line works best when tools return to the same place as reliably as ingredients do.
Size the Refrigerated Rail for the Real Service
An under-sized rail creates a familiar cycle: pans are overfilled, backups crowd the counter, lids disappear, and cooks begin opening reach-ins mid-ticket. An oversized rail can be equally wasteful if it gives low-turn ingredients too much exposure and encourages excessive mise en place.
Choose pan capacity based on peak-period usage, replenishment frequency, and the product's safe hold time. A busy lunch concept may need larger pans of its core ingredients and smaller pans of limited toppings. A chef-driven menu with frequent changes may benefit from a more modular arrangement that makes swaps quick and orderly.
The equipment itself should match the conditions of the kitchen. Refrigerated prep tables need enough pan capacity and cold-holding performance for the ambient heat near the line. A unit placed beside charbroilers, fryers, or an open pizza oven faces a different load than one in a climate-controlled pantry. Confirm clearance requirements, electrical needs, working height, cutting-board depth, and the practical accessibility of the refrigerated base before committing to a footprint.
At Culinary Precisions, the right prep-table choice begins with this workflow question: what must stay cold, where does it move next, and how much of it moves during the busiest hour? Capacity matters, but usable capacity matters more.
Create a Replenishment System That Does Not Interrupt Service
The active rail should hold service-ready product, not the entire day's inventory. Keep clearly labeled backups in the refrigerated base or nearby reach-in, organized in the same order as the pans above. When a cook reaches for backup sliced onions, for instance, it should be immediately clear which container replaces the one in the rail.
Use smaller, more frequently refreshed pans for delicate, expensive, or slow-moving ingredients. This protects quality and reduces waste. Larger pans make sense for high-turn products, provided the team can maintain temperature and avoid mixing fresh product into old product.
A practical replenishment system includes five disciplined habits:
- Date and time every prepared backup container.
- Use first-in, first-out rotation at both the rail and the backup level.
- Refill pans during natural lulls, not after they run empty.
- Assign restocking responsibility by station or shift.
- Set pars from actual sales and adjust them after menu or daypart changes.
Protect Food Safety Without Slowing the Cook
A polished prep line makes safe behavior the easy behavior. Keep raw proteins physically separate from ready-to-eat vegetables, cheeses, garnishes, and sauces. If raw preparation must happen near assembly, use a distinct surface, dedicated utensils, and a cleaning procedure that prevents cross-contact before the station returns to service.
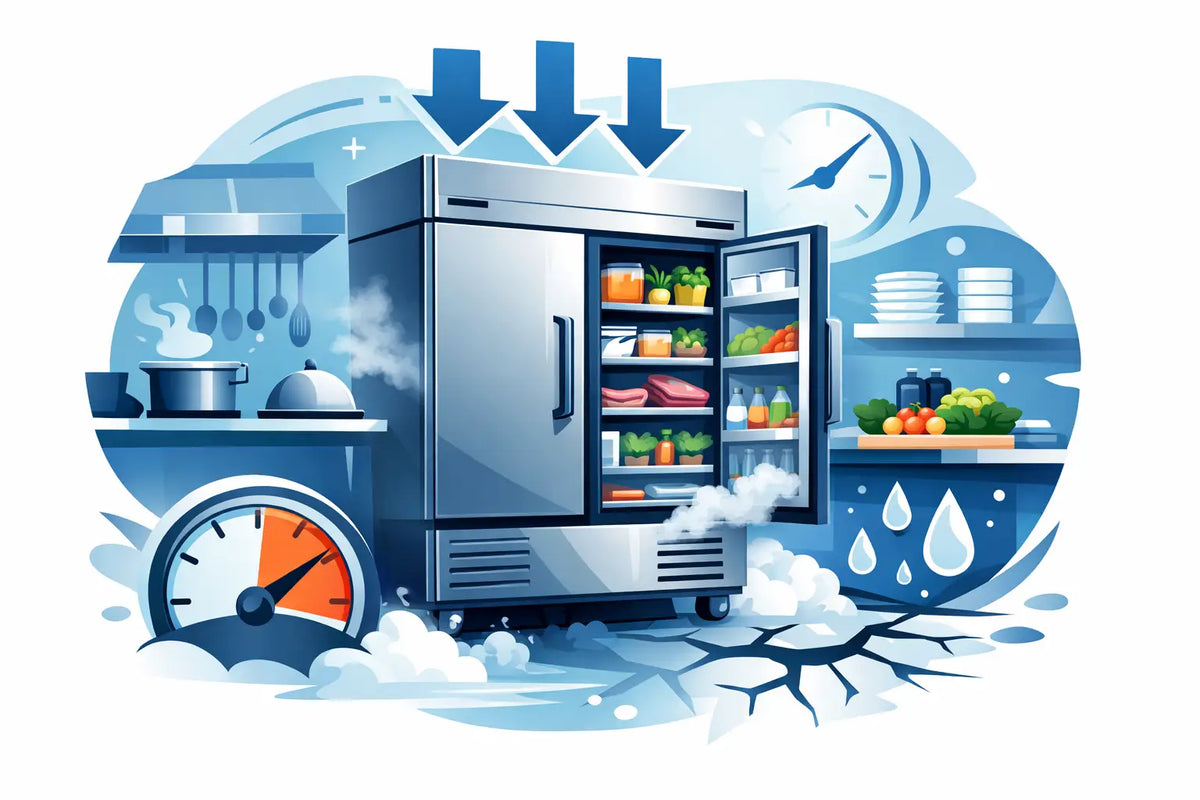
Cold food requires disciplined temperature control. Do not assume a pan is safe simply because it sits in a refrigerated rail. Check temperatures on a schedule, avoid blocking airflow with overfilled pans or packaging, and close covers when the station is not actively being used. During long service windows, a shallow pan of properly chilled product is usually easier to keep cold than an overfilled deep pan.
Allergen control deserves its own place in the layout. Keep allergen-sensitive ingredients labeled and contained, and make clean utensils readily available for special orders. The best method depends on volume. A low-volume operation may use a separate sanitized prep area for allergen requests, while a high-volume concept may need dedicated tools and containers at the station.
Set the Line for Opening, Then Reset It for Tomorrow
Opening prep should be a deliberate build, not a memory test. A station diagram posted inside a cabinet door or at the end of the line gives every employee the same visual standard. It should show pan locations, portion tools, backups, labels, and the expected condition of the work surface.
During service, managers should watch for signals that the layout needs adjustment: cooks crossing paths, recurring empty pans, ingredients left unused, wrappers accumulating, or repeated trips to refrigeration. These are not merely training issues. They often reveal a line designed around habit instead of demand.
At close, break down the rail fully. Consolidate product only when safe rotation rules allow it, wash and sanitize food-contact surfaces, inspect gaskets and drain areas, and reset the station so the next crew starts with a clean field rather than yesterday's compromises.
A prep line should feel like a well-made tool: ordered, responsive, and ready under pressure. Build it around the food you sell most, give every hand a clear path, and let the work itself determine where each pan belongs.