How to Install Gas Range Safely
A gas range that is even slightly misinstalled can cost you more than cooking time. It can create ignition problems, uneven burner performance, gas leaks, and compliance issues that no serious kitchen can afford. If you are researching how to install gas range equipment, the first thing to know is simple: the process is not just about sliding an appliance into place. It is about matching fuel type, verifying line capacity, protecting clearance, and testing every connection before the first flame appears.
For many buyers, especially restaurant operators and ambitious home cooks investing in professional-grade equipment, the smartest move is still a licensed gas technician. That is not caution for caution's sake. It is the difference between equipment that performs under pressure and equipment that starts its life with hidden problems.
Before you install a gas range
Start with the spec plate and installation manual for the exact unit. Gas ranges are not universal. Fuel type, regulator requirements, pressure ratings, BTU load, and clearance specifications vary by model. A commercial-style range may also call for ventilation, floor protection, and side or rear spacing that differs from a standard residential unit.
You also need to confirm whether the range is set up for natural gas or liquid propane. A mismatch here is not a minor adjustment. Running the wrong fuel without proper conversion can lead to poor combustion, soot, unstable flames, and damage to components. If the unit requires a conversion kit, follow the manufacturer instructions exactly or have the conversion performed by a qualified professional.
Take a hard look at the installation site before the appliance arrives. Measure width, depth, height, doorway clearance, and the final working space around the range. In tighter kitchens, this step matters more than people expect. A range that technically fits the opening can still create service access problems, crowd adjacent refrigeration, or interfere with safe movement during peak production.
Tools and materials you may need
If local code and the manufacturer allow self-installation, the usual setup includes an approved flexible gas connector or fixed piping connection, pipe thread sealant rated for gas, adjustable wrenches, a gas shutoff valve if one is not already present, a leak-detection solution, and a level. Some installations also require an anti-tip bracket, electrical connection for ignition or oven controls, and ventilation compliance.
Do not improvise with leftover fittings or general-purpose sealants. Gas connections are only as reliable as the weakest component in the chain.
How to install gas range step by step
1. Shut off the gas supply
Before any connection work begins, shut off the gas at the appliance shutoff valve. If there is no dedicated shutoff valve near the installation point, that itself may need correction before the range can be installed. In many jurisdictions, an accessible shutoff is required.
If you are replacing an old unit, disconnect it only after confirming the gas is off. Once the old range is moved out, inspect the gas line, shutoff valve, and surrounding wall or floor area for wear, corrosion, grease buildup, or damage.
2. Position the range and check clearances
Move the new unit close to its final position, but leave enough room to work behind it. Confirm the floor is stable and the opening meets the manufacturer clearance requirements. This is especially important with higher-output ranges, where heat management and ventilation affect both safety and cooking consistency.
If your model includes an anti-tip device, install it now according to the manufacturer instructions. This is not optional hardware. It helps prevent the appliance from tipping forward under load, which can happen more easily than many users realize.
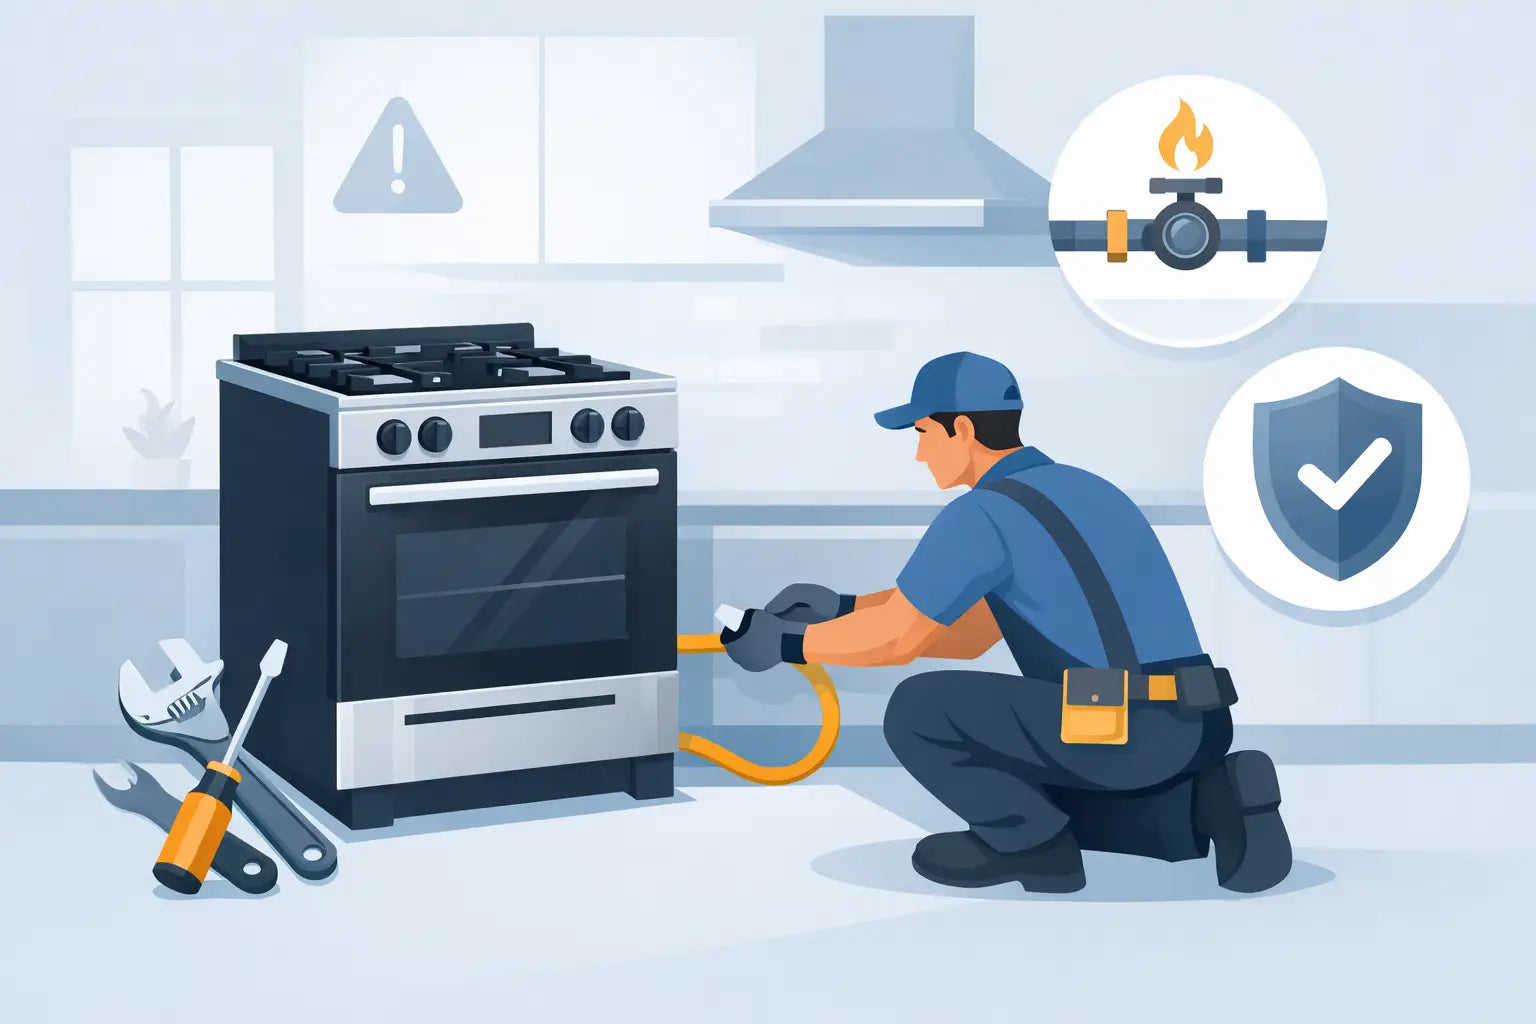
3. Install the gas connector correctly
Connect the gas supply line to the range inlet using only approved fittings. Most ranges require a pressure regulator, and many manufacturers specify its orientation. Follow the arrow that indicates gas flow direction. If the regulator is installed backward or omitted, burner and oven performance can suffer immediately.
Apply gas-rated thread sealant only where the manufacturer allows it, typically on male pipe threads and not on flare fittings. Over-tightening is another common mistake. Tight enough to seal is correct. Forced tightness can damage threads or fittings and create the very leak you were trying to avoid.
4. Connect power if required
Many gas ranges still need electricity for spark ignition, lights, clocks, convection fans, or control boards. Plug the unit into the proper grounded outlet if required by the model. Avoid extension cords or makeshift adapters. Stable electrical supply supports reliable ignition and long-term component performance.
5. Level the range
Once connected, move the range into position carefully, making sure the gas connector does not kink or crush behind the appliance. Use a level across the cooktop and adjust the legs as needed.
This is more than a cosmetic detail. A level range supports even pan contact, balanced oil distribution, and more consistent oven results. In a performance-driven kitchen, that matters every day.
6. Turn on the gas and test for leaks
With the unit connected and positioned, slowly open the gas shutoff valve. Use a leak-detection solution on every connection point. If bubbles form, shut the gas off immediately and correct the connection before proceeding.
Never test for leaks with an open flame. That shortcut has no place in a professional or home kitchen.
7. Test ignition and burner flame
Light each surface burner and confirm prompt ignition. Then test the oven or broiler if included. The flame should generally appear steady and mostly blue. Slight variation can occur depending on the model, but lazy yellow flames, delayed ignition, popping, or uneven burner output usually signal an airflow, pressure, or orifice issue.
If performance is off, stop and troubleshoot before regular use. New equipment should not be expected to "burn in" its way past installation errors.
Code, ventilation, and when it depends
This is where many gas range installations become more complicated than expected. Residential and commercial installations do not follow the same assumptions. A home kitchen may focus on local building code, fuel shutoff access, and residential venting requirements. A commercial kitchen may also need to account for fire suppression systems, hood requirements, equipment spacing, and inspection standards.
High-BTU ranges deserve special attention. More power supports faster recovery and better output, but it also increases demand on the gas supply and ventilation system. If your line sizing is inadequate, you may see weak burner performance during peak use. If your ventilation is undersized, excess heat and combustion byproducts can affect both safety and working conditions.
That is why installing the range itself is only part of the job. Supporting systems matter just as much.
Common mistakes that hurt performance
The most frequent issues are not dramatic. They are small installation shortcuts that lead to ongoing frustration. A range set up for the wrong fuel, a missing regulator, a connector bent too sharply, poor leveling, or a leak test that never happened can all show up as weak flames, hot spots, ignition failure, or service calls right after purchase.
Another common miss is ignoring the manufacturer clearance recommendations because the space looks close enough. Tight installations may restrict airflow, complicate cleaning, and make future maintenance harder than it needs to be. In a busy kitchen, serviceability is part of performance.
Should you install a gas range yourself?
For some residential buyers with straightforward replacements, local code approval, and experience working with gas appliances, self-installation may be allowed. Even then, it only makes sense if you can follow the manufacturer instructions exactly and verify a safe, code-compliant result.
For commercial operators, premium residential ranges, propane conversions, new gas line work, or any installation where code is unclear, professional installation is the stronger decision. It protects the equipment, the facility, and the people working around it. That is the standard serious kitchens should expect.
If you are selecting a new range, it also helps to buy from an equipment partner that understands specification-driven performance. Culinary Precisions serves buyers who need equipment built for daily output, not just showroom appeal, and that mindset should carry through installation as well.
Final checks before first service
Before the range enters regular use, clean away packaging residue, verify all grates and burner caps are seated correctly, and review the operating instructions with whoever will use the unit. In a commercial setting, that means line cooks, kitchen managers, or opening staff should know how to shut off the gas, recognize an abnormal flame, and report issues early.
A proper install gives you more than a working appliance. It gives you stable heat, faster recovery, safer operation, and the consistency that serious cooking depends on. When a gas range is installed with precision, it stops being just another piece of equipment and starts doing what it was built to do - perform when the kitchen needs it most.