How to Clean Charbroilers Safely
A charbroiler that starts smoking before service even begins is rarely a seasoning issue. More often, it is old grease, carbon buildup, or clogged components forcing the unit to work harder than it should. Knowing how to clean charbroilers safely is not just a sanitation task. It is a performance standard that affects heat consistency, flare-up control, food quality, and equipment life.
In a commercial kitchen, cleaning has to be repeatable under pressure. In a serious home setup, it has to be effective without damaging expensive components. The safest approach is not the fastest shortcut. It is a disciplined routine built around cooldown, disassembly, correct tools, and close attention to the parts that directly affect combustion.
Why safe charbroiler cleaning matters
Charbroilers operate in one of the harshest environments in the kitchen. High heat, animal fats, marinades, sugars, and airborne grease all collect on grates, radiants, burner covers, crumb trays, and interior surfaces. If that buildup is left in place, the broiler can develop uneven heat zones, excessive smoke, ignition trouble, and aggressive flare-ups that interrupt production.
There is also a clear safety issue. Grease accumulation near burners can ignite. Carbon and debris can block burner ports and affect flame quality. Harsh cleaning at the wrong temperature can warp parts or crack protective finishes. A safe cleaning process protects both the operator and the machine.
For foodservice teams, that translates into fewer disruptions during service and more predictable cooking results. For high-performance home cooks, it means the broiler keeps delivering the sear, speed, and control that justified the investment in the first place.
How to clean charbroilers safely before you start
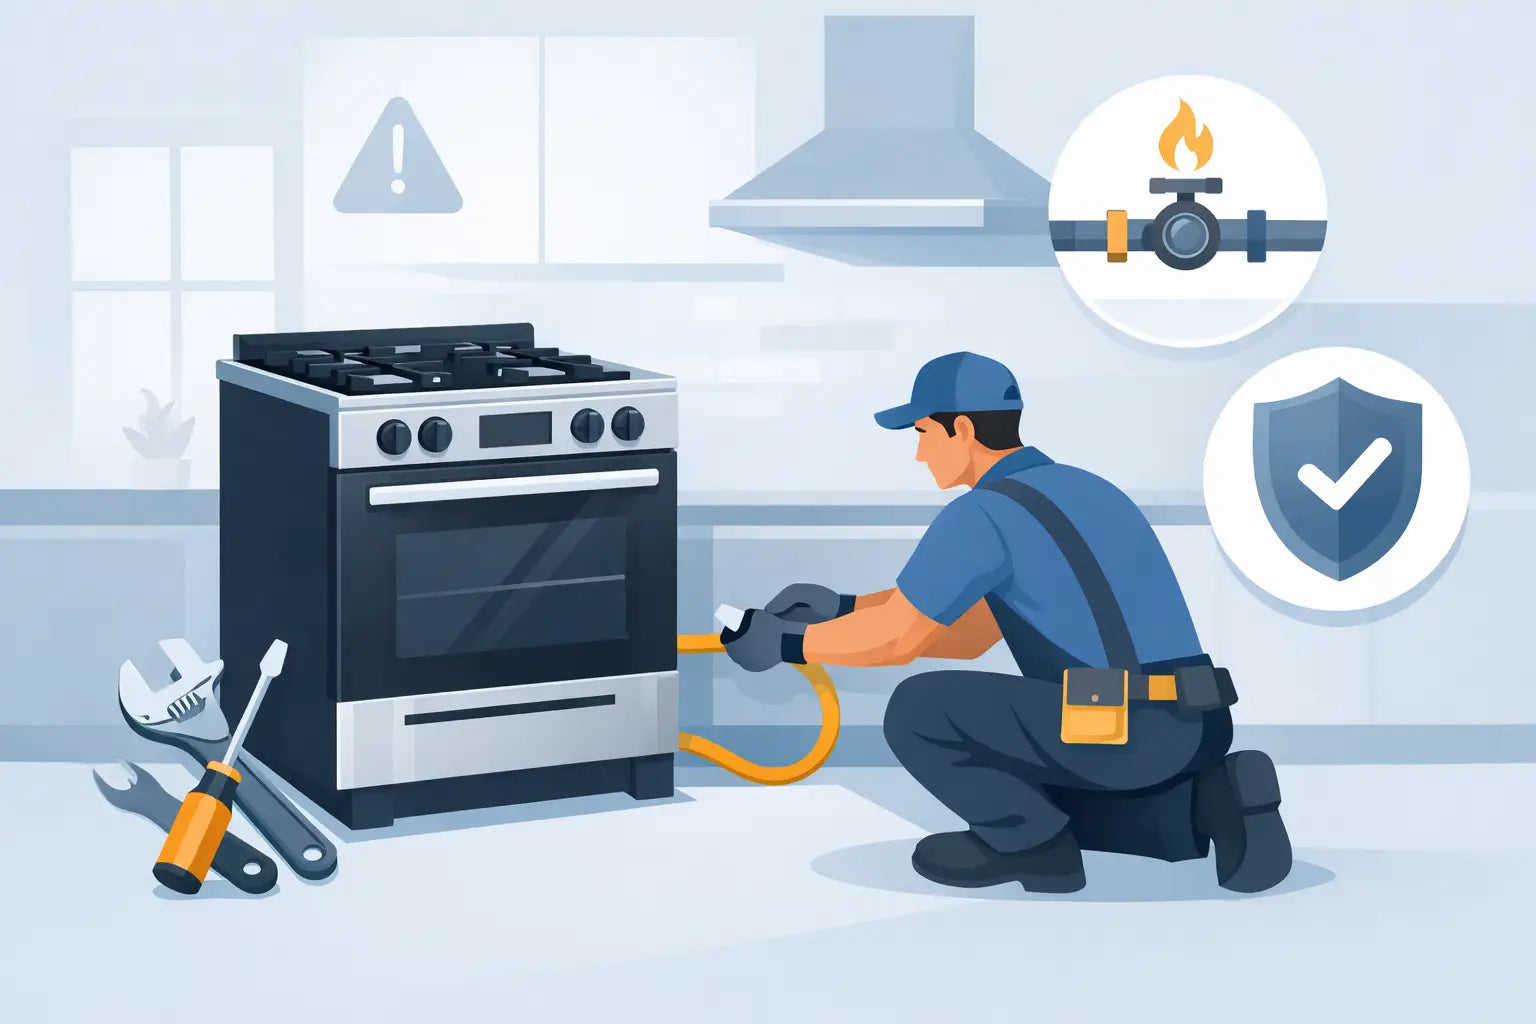
Before touching the unit, shut off the fuel source completely. If it is a gas charbroiler, turn off the burners and close the gas supply if your setup allows for it. If the unit has electrical components such as ignition systems or lights, disconnect power according to the manufacturer instructions.
Temperature matters. Cleaning a charbroiler while it is fully hot is dangerous, but waiting until it is stone cold can make grease harder to remove. In many kitchens, the safest working window is when the unit is warm, not hot enough to burn skin and not cold enough for grease to harden completely. That said, removable parts should be cool enough to handle safely with heat-resistant gloves.
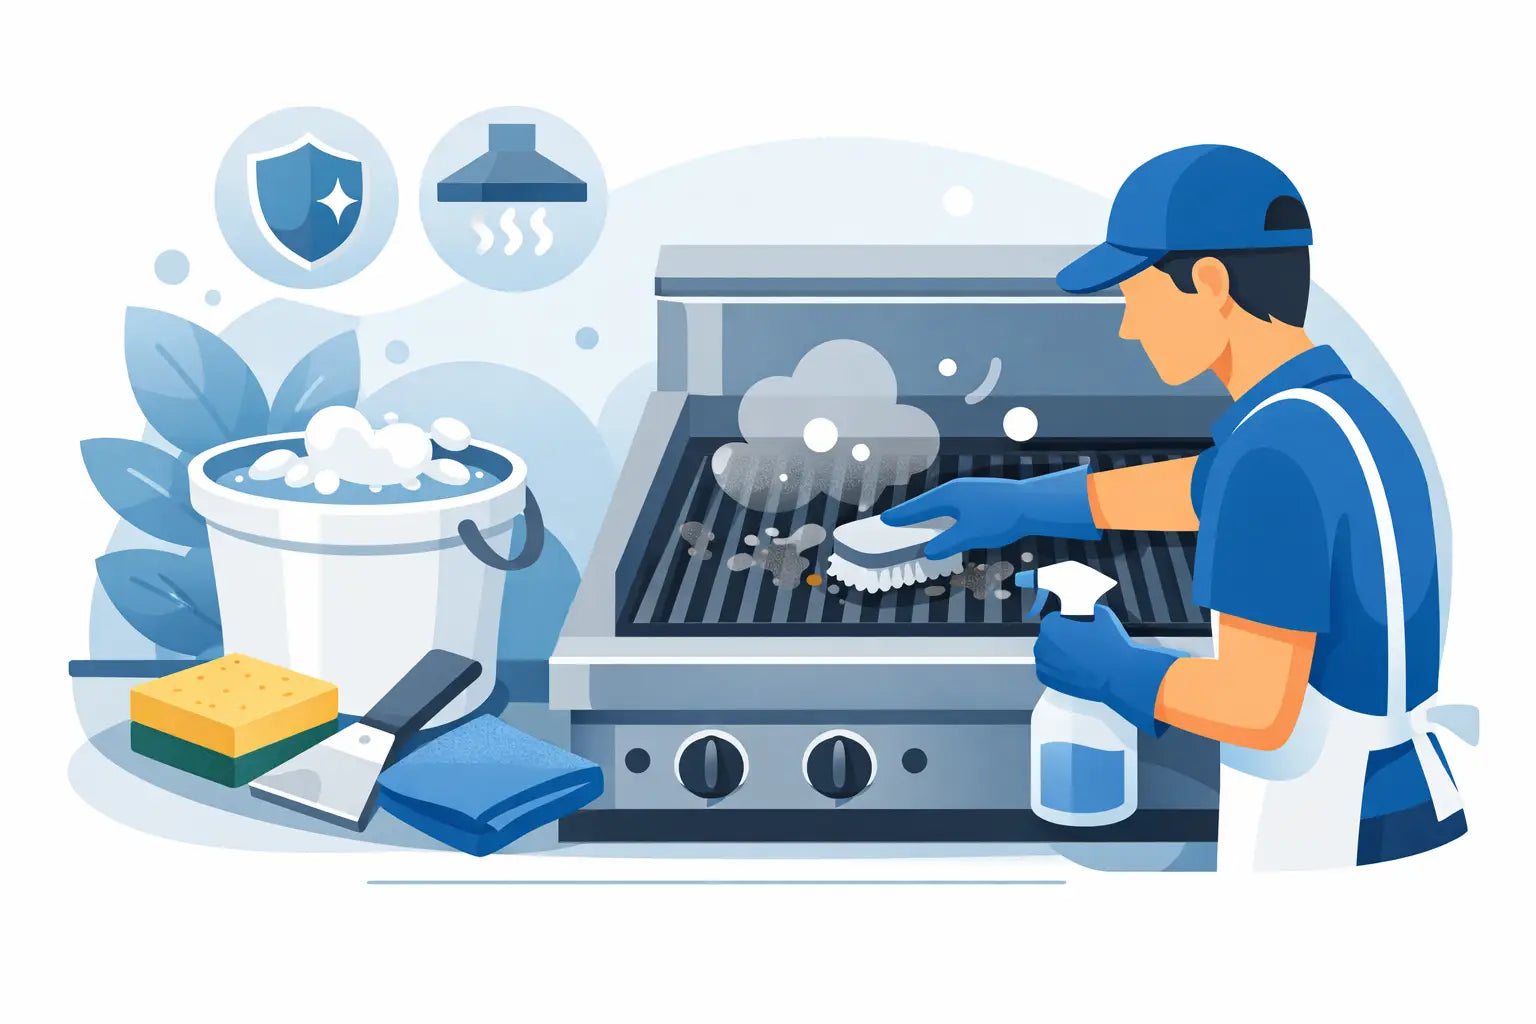
You will also want the right tools ready before disassembly begins. A grill brush designed for commercial use, a scraper, non-abrasive pads, clean cloths, a degreaser approved for foodservice equipment, and a container for soaking grates are usually enough. Avoid improvised metal tools that gouge surfaces or send fragments into the cooking area.
Start with the removable components
Most charbroilers clean best when handled in layers. Remove grates first, then radiants, briquettes, or heat deflectors depending on the model. Next, empty crumb trays and grease collection areas. This step exposes the surfaces where grease and carbon hide and gives you a much better view of what is happening around the burners.
Grates usually need the most attention because they take direct contact from proteins, sugars, and fats. Scrape them while they are still slightly warm, then soak if needed in hot water with an appropriate cleaning solution. Heavy carbon may require repeated passes rather than brute force. Excess pressure can damage the grate finish or alter cooking contact points.
Radiants and burner covers should be cleaned more carefully. Their job is to distribute heat and shield burners from drippings, so even a moderate layer of buildup can reduce efficiency. Scrape off carbon and wipe away grease, but do not bend them out of shape. A warped radiant can create heat inconsistency that no burner adjustment will fully fix.
Clean the firebox without flooding it
Once the removable parts are out, focus on the interior firebox. This is where operators often make the biggest mistake: using too much water or too much chemical. Charbroilers are not designed to be saturated. Excess liquid can carry grease into burner areas, leave residue behind, and create corrosion problems over time.
Instead, scrape dry debris first. Remove loose carbon, food particles, and grease deposits from the bottom and side walls. Then apply degreaser sparingly to the affected surfaces and wipe them down with cloths or pads. Repeat as needed until the interior is clean but not dripping.
If the unit uses lava rocks or briquettes, inspect them closely. Some can be brushed clean and reused, while others should be replaced once they become heavily saturated or broken down. This is one of those it-depends areas where the manufacturer guidance matters. Reusing deteriorated media can affect airflow and create more smoke than the cooking process itself.
Protect the burners during cleaning
Burners are the most performance-sensitive part of the charbroiler, and they deserve a lighter touch. Never spray heavy cleaner directly into burner ports. Never force sharp tools into the openings. If ports are clogged, use a soft brush or a method approved by the manufacturer to clear debris without enlarging or distorting the holes.
After cleaning around the burners, inspect the flame path area for grease or obstructions. Look for signs of uneven residue patterns, which can point to airflow issues or incomplete combustion. If burner parts are visibly damaged, corroded, or producing irregular flame patterns after reassembly, cleaning alone is not the fix. The component may need service or replacement.
For kitchens that rely on charbroilers daily, burner inspection should be part of routine maintenance, not something saved for a breakdown. Built for performance does not mean maintenance-free. Precision heat depends on clean combustion.
Use the right chemicals and skip the risky shortcuts
The safest cleaning chemical is the one approved for the material and used at the correct strength. Stronger is not always better. An aggressive degreaser can strip finishes, leave harmful residue, or damage surrounding parts if it is not rinsed and wiped correctly.
Oven cleaner is a common shortcut, but it is not automatically the right choice for every charbroiler. Some formulations are too caustic for coated surfaces, aluminum parts, or certain burner assemblies. The same caution applies to wire brushes that shed bristles, bleach-based products, and pressure washing. Each may seem efficient in the moment but creates avoidable risk in a food-contact environment.
If your charbroiler sees constant production, a lighter daily clean and a deeper scheduled clean usually works better than letting soil accumulate and attacking it with extreme methods. That approach improves safety and preserves component life.
Reassemble carefully and test before service
Once every part is dry and clean, reassemble in the correct order. Grates that sit unevenly, radiants placed backward, or trays not fully seated can all affect heat distribution and grease flow. This is where rushed cleaning often shows up later as poor performance.
After reassembly, restore fuel and power according to proper startup procedure. Ignite the charbroiler and observe the flame. You are looking for stable ignition, even burner coverage, and no unusual popping, sputtering, or delayed lighting. Let the unit run long enough to confirm it is operating normally.
Wipe exterior surfaces last. Stainless steel fronts, ledges, and controls should be cleaned with appropriate products that preserve the finish rather than leave streaks or residue. In open kitchens especially, exterior cleanliness is part of the equipment standard customers can see.
Build a cleaning schedule that matches volume
There is no perfect universal schedule for how to clean charbroilers safely because usage varies. A charbroiler handling high-fat proteins through multiple dayparts will need more frequent attention than one used for occasional finishing. The right schedule depends on menu, volume, fuel type, and the design of the unit itself.
In most operations, grates and grease trays need daily cleaning. Interior surfaces and radiants often need routine attention several times a week, with deeper cleaning scheduled regularly based on buildup. Burners should be inspected often enough that small issues are caught before they become service calls.
For serious home cooks, the same logic applies on a smaller scale. If you use the broiler for steaks, burgers, sausages, or marinated proteins every weekend, a quick brush-off is not enough forever. Consistent care keeps the machine responsive and reduces the chance that your next cook starts with smoke and sticking instead of clean heat.
Culinary Precisions serves cooks and operators who expect equipment to perform with consistency under pressure. That expectation only holds when maintenance is treated as part of the cooking system, not an afterthought.
A clean charbroiler rewards you every time it fires evenly, controls flare-ups, and delivers the kind of repeatable heat that serious kitchens depend on. Clean it with care, and it will cook like it was built to.